What Are 7 Tips for Choosing a Switch Terminal?

Choosing the right Switch Terminal can determine whether an electrical assembly remains stable or develops costly faults. The part may look small, but its contacts carry current, resist heat, and withstand repeated connection cycles. A suitable choice begins with the application, not the catalog image. Check the rated voltage, current, wire size, insulation material, and operating temperature. Then compare those values with real working conditions, including startup loads and nearby heat sources.

In practical assembly work, I have seen terminals fail because engineers considered only electrical ratings. Vibration, moisture, limited space, and frequent maintenance also matter. A secure locking feature may prevent loose connections inside a moving machine. A clear pitch measurement can avoid crowded wiring and accidental contact. Copper alloy contacts, reliable plating, and strong housings often support better long-term performance, but their quality should be verified through technical documents. Do not rely on appearance alone.

Small details matter.

The seven tips in this guide will help evaluate compatibility, durability, installation effort, safety features, and supplier reliability. They also encourage careful comparison between laboratory specifications and actual field demands. A terminal rated for 10 amps may perform differently in a hot enclosure with thin wiring and continuous current. That detail is easy to miss. I would also recheck every assumption before approving a design, because even experienced teams overlook connector orientation or service access. The best Switch Terminal is not always the cheapest or most advanced option. It is the one that matches the system, survives its environment, and can be installed correctly every time.
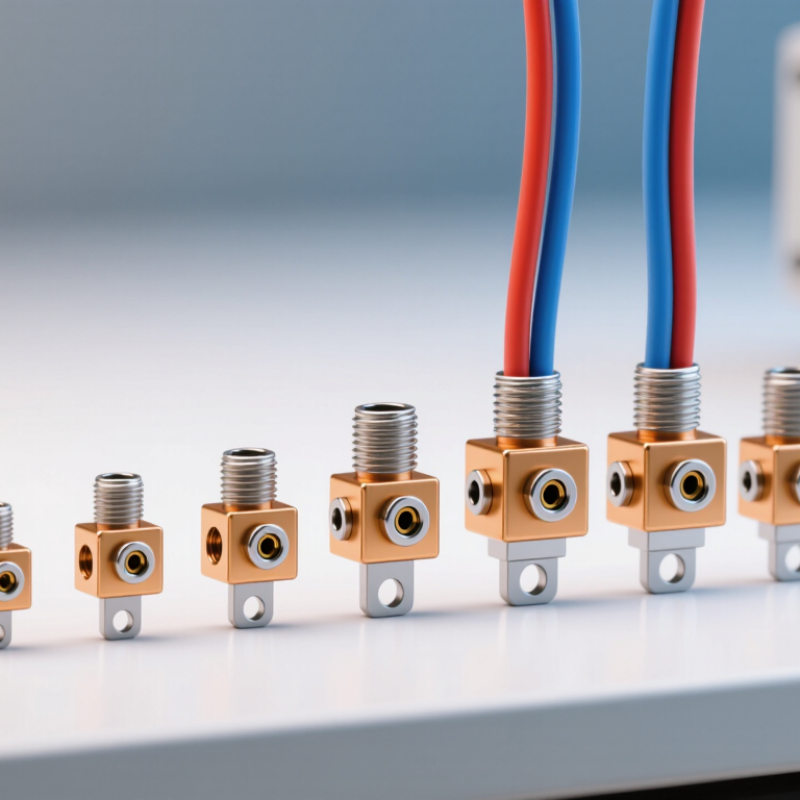
What Are 7 Tips for Choosing a Switch Terminal?

Define the Switch Terminal’s Electrical and Mechanical Requirements

Choosing a switch terminal starts with defining its electrical and mechanical requirements. A terminal that fits the panel may still fail under real operating conditions. Record the rated voltage, current, switching frequency, and load type. Inductive loads can create voltage spikes. Plan for them. Check the allowable temperature range, insulation resistance, and contact resistance. These values should match the application, not only the catalog headline.

Mechanical requirements deserve equal attention. Measure the mounting cutout, terminal spacing, body depth, and actuator clearance. Leave room for wiring tools and inspection. Vibration, repeated pressing, moisture, and dust can change the selection. In one panel review, a terminal worked electrically but loosened after repeated vibration. The mounting hardware was too short. That mistake was avoidable. Review the panel material and fastening method before ordering.

Use the wire size, connector style, and tightening torque as selection limits. Confirm whether the terminal accepts solid, stranded, or ferruled conductors. Follow tested specifications and applicable safety requirements. A practical sample test helps. Cycle the switch, apply the intended load, and measure heat at the connection. Record results. Do not rely on touch alone. I once treated a slightly warm connection as acceptable, but later measurements showed poor crimping. That experience changed my inspection process. Leave tolerance for production variation, because laboratory-perfect assembly is not always repeatable.

Choose the Correct Terminal Type and Connection Method

Choosing a switch terminal starts with the terminal type, not its appearance. A neat housing can still hide a poor connection.

Identify whether the switch uses solder, screw, crimp, quick-connect, or PCB terminals. Each type requires a different installation technique. Match the connection method to your tools and production conditions. Solder joints need heat control, while crimp terminals need the correct die and pressure. Screw terminals need proper tightening without damaged threads. I once trusted a quick-connect terminal because it fitted easily. Vibration later exposed that mistake. Check the switch’s voltage and current ratings before selecting a terminal. A terminal should safely handle the actual electrical load, including startup current.

Confirm the wire gauge and insulation size. An oversized terminal may loosen, while a small one can damage the conductor. Inspect the mating dimensions carefully, especially terminal width, locking features, and insertion depth. The connection should remain secure after repeated switching. Consider moisture, dust, heat, and vibration at the installation site. Plated contacts may resist corrosion better in demanding environments, but the coating alone is not enough. Verify the base material and sealing design. Test one assembled sample before approving a large batch. Pull the wire gently, operate the switch repeatedly, and inspect for movement or heat marks. Record the result. My own early checks were too visual; electrical measurements would have revealed the weakness sooner.

Check Material Quality, Current Rating, and Environmental Resistance

What Are 7 Tips for Choosing a Switch Terminal?

Tip 1: Inspect the terminal material closely. Copper alloys offer good conductivity, while plated surfaces can reduce corrosion. Look for firm crimp areas and clean, even plating.

Tip 2: Match the current rating to the real load, not only the normal reading. Motors and lamps may create short starting surges.

Tip 3: Check the voltage rating and terminal spacing. Small gaps can become risky in dusty or damp equipment.

Tip 4: Consider heat buildup inside the enclosure. A terminal rated for 20 amps may need derating at higher temperatures.

Tip 5: Test the connection with the actual wire size. The wire should enter smoothly, and the screw or spring should hold it firmly. Loose movement is a warning.

Tip 6: Examine environmental resistance. For outdoor or humid equipment, check protection against moisture, salt spray, dust, vibration, and temperature changes. A sealed housing helps, but it is not magic.

Tip 7: Review test data and installation instructions. Reliable documents should state ratings, materials, test methods, and operating limits.

In field work, I have seen terminals fail because the chosen rating looked sufficient on paper. The real cabinet was hotter than expected. That mistake was avoidable. Measure the enclosure temperature, inspect the mating parts, and leave a practical safety margin. Also check whether maintenance tools can reach the terminal. A technically strong part can still be a poor choice when installation is cramped or inspection is difficult.

Verify Size, Compatibility, Safety Standards, and Installation Needs

Tip 1: Verify terminal size before ordering. Match the conductor gauge, screw diameter, pitch, and panel cutout. A terminal that fits loosely can create heat.

Tip 2: Check electrical compatibility. Confirm rated voltage, current, insulation type, and switching load. Derating may apply in hot enclosures. Measure twice.

Tip 3: Review the installation space. Leave room for wire bending, tool access, and inspection. My field experience shows crowded terminals often cause damaged insulation and poor tightening.

Tip 4: Confirm safety standards. IEC 60947-1 covers general requirements for low-voltage switchgear and controlgear. IEC 60529 defines IP protection ratings. Select the rating for dust and moisture exposure.

Tip 5: Inspect certification evidence. Do not rely only on a supplier’s product description. Ask for test reports, temperature limits, material specifications, and documented torque values. Documentation matters.

Tip 6: Plan the connection method. Compare screw, spring-clamp, and crimp designs with the available tools. Follow the stated stripping length and torque. One careless millimeter can weaken the joint.

Tip 7: Consider real electrical risk. The U.S. Bureau of Labor Statistics recorded 145 fatal occupational injuries from exposure to electricity in 2022. Loose connections deserve serious attention. Use isolation procedures and qualified installation personnel.

A final check should include conductor retention, terminal markings, enclosure clearance, and strain relief. I sometimes underestimate labeling, especially during rushed retrofits. That mistake is easy to prevent.

Compare Durability, Cost, Supplier Reliability, and Maintenance Support

What Are 7 Tips for Choosing a Switch Terminal?

Durability should guide your first inspection. Check the terminal’s housing material, contact plating, and resistance to heat, vibration, and moisture. A firm connection matters. Confirm the rated voltage, current, and switching cycles against your actual operating conditions. Do not trust appearance alone; a polished surface can hide weak contact pressure. Review test reports, dimensional drawings, and relevant quality certificates before approval.

Cost needs a wider view. Compare purchase price, installation time, replacement frequency, and energy loss from poor connections. The cheapest terminal may create expensive downtime. I once focused too heavily on unit price, and that shortcut caused repeated maintenance. Supplier reliability deserves equal attention. Check production capacity, delivery records, quality controls, and communication speed. Ask for sample inspection data and clear change-notification procedures. A dependable supplier explains limitations instead of promising everything.

Maintenance support can protect the whole installation. Choose suppliers that provide wiring guidance, inspection intervals, spare-part availability, and practical troubleshooting advice. Confirm whether technical staff can answer questions after delivery. Keep service records and review failure patterns every few months. This step is often neglected. It should not be. Also examine how easily technicians can access, tighten, clean, or replace the terminal during routine service. My judgment can still be wrong when field conditions differ from laboratory tests, so a small pilot installation may reveal problems earlier.

What Are 7 Tips for Choosing a Switch Terminal? — Compare Durability, Cost, Supplier Reliability, and Maintenance Support
Tip Evaluation Dimension What to Check Practical Selection Benchmark Why It Matters Priority
1 Confirm Electrical Ratings Verify rated voltage, rated current, insulation voltage, impulse withstand voltage, and the conductor size accepted by the terminal. Select a terminal whose ratings exceed the application’s normal operating values, with additional allowance for continuous load and transient conditions. Correct electrical margins help reduce overheating, insulation breakdown, nuisance failures, and unsafe connections. High
2 Compare Durability and Materials Check the contact metal, plating, housing material, temperature rating, vibration resistance, and resistance to moisture, dust, chemicals, or UV exposure. For demanding environments, favor corrosion-resistant contacts, flame-retardant insulating materials, secure locking features, and a temperature rating above the expected operating range. Material quality and mechanical strength affect service life, contact stability, and resistance to loosening or corrosion. High
3 Evaluate Connection Security Assess the terminal style, clamping method, contact force, wire retention, keying, locking mechanism, and resistance to vibration. Choose a design that prevents reverse installation and maintains stable contact under the equipment’s actual vibration and movement conditions. A secure connection lowers the risk of intermittent signals, arcing, electrical noise, and unplanned downtime. High
4 Calculate Total Cost Compare purchase price with tooling, installation labor, inspection, replacement parts, inventory, energy loss, and expected service life. Use a total-cost-of-ownership calculation rather than choosing solely by the lowest unit price. Include the cost of rework and field replacement. A low initial price can become expensive when installation is slow, failures are frequent, or replacement parts are difficult to obtain. High
5 Check Supplier Reliability Review production capacity, quality-control procedures, traceability, delivery performance, documentation, and change-notification practices. Prefer suppliers that provide consistent specifications, documented inspection methods, realistic lead times, and advance notice of material or design changes. Reliable supply reduces production interruptions, unauthorized substitutions, and inconsistent field performance. High
6 Verify Standards and Testing Ask for applicable test reports, ratings, dimensional drawings, wiring instructions, and evidence of compliance with the standards required for the installation. Confirm that the terminal has been tested for relevant electrical, thermal, mechanical, and environmental conditions—not just general laboratory use. Verified testing supports safe design decisions and simplifies approval, auditing, installation, and future maintenance. High
7 Assess Maintenance Support Check availability of replacement terminals, labels, accessories, tooling, wiring guides, troubleshooting help, and technical response times. Choose a supplier that can support the product throughout the planned equipment life and provide clear instructions for inspection and replacement. Good maintenance support shortens repair time, prevents wiring errors, and helps keep service procedures consistent. Medium

Recommended decision method: Assign each criterion a weight based on the application, score shortlisted terminals from 1 to 5, and document the evidence used for every score. Electrical safety and environmental suitability should take precedence over a small difference in purchase price.