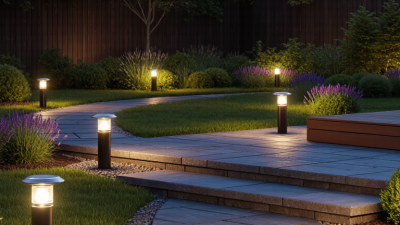
How to Choose LED Garden Lights for Your Project in 2026?
Choosing Led Garden Lights in 2026 is not just a matter of picking attractive fixtures. A path needs clear, comfortable light; a flower bed may need a softer wash. The right choice depends on the garden’s layout, local weather, power access, and how people use the space after dark. A bright lamp can look impressive in a product photo and still feel harsh beside a seating area.
This guide explains the practical details worth checking before you buy. Compare light output and beam angle, then consider color temperature: warm white often feels inviting, while cooler light can reveal finer detail. Check the fixture’s weather-resistance rating, materials, installation method, and warranty. If you are choosing solar lights, look closely at the panel’s exposure and the expected runtime, since shade and winter days can change performance. For wired systems, confirm that the transformer and controls suit the planned layout, and consult a qualified installer when needed.
Small details matter. A shielded fixture can reduce glare, while careful spacing helps avoid dark gaps along a walkway. Smart controls may add convenience, but they are not automatically useful in every garden. The specifications do not tell the whole story; real performance depends on placement and maintenance. I have seen attractive designs disappoint when their light spills into windows or misses the path. That is easy to overlook. Use this guide to weigh appearance against comfort, durability, and upkeep, then choose a setup that fits the garden you actually have—not an idealized product image.
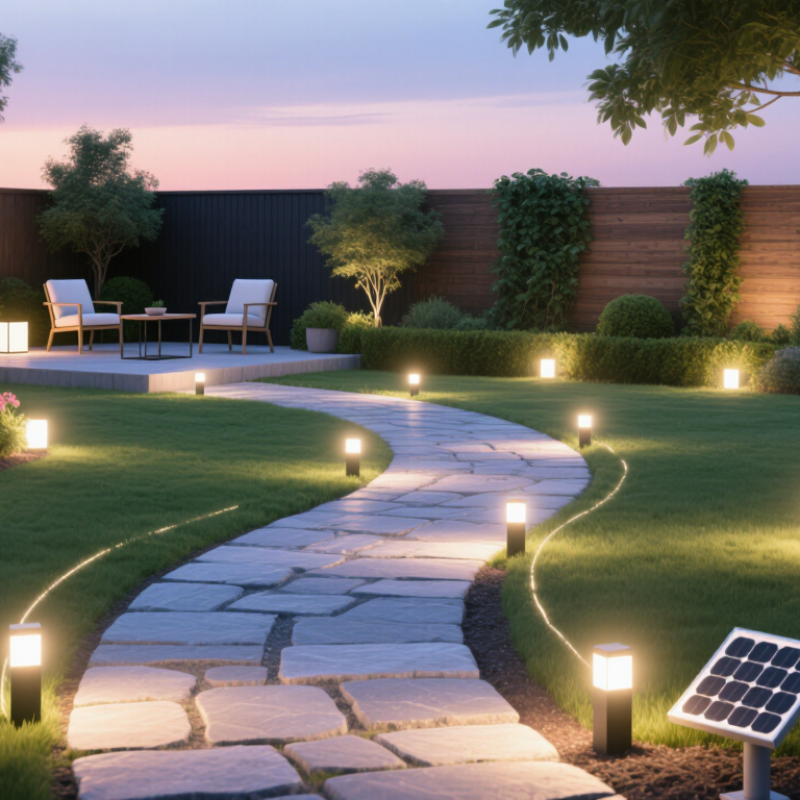
Define Garden Lighting Goals with Target Lux, Beam Angle, and Mounting Height
How to Choose LED Garden Lights for Your Project in 2026?
Define Garden Lighting Goals with Target Lux, Beam Angle, and Mounting Height
Set a target for each area before choosing fixtures. A garden path often needs about 5–10 lux at ground level for comfortable navigation, while a workbench or outdoor food-preparation spot may need 100–200 lux. These are starting points, not rigid rules; dark paving and dense planting can change what feels usable. Measure light where people walk or work, not beside the fixture. I have seen a bright lamp leave a path dim because its beam missed the paving. It happens.
Beam angle determines how light spreads. A 15–30-degree beam can pick out a tree trunk or stone feature, while a wider 60–120-degree beam suits open beds and seating areas. Mounting height changes the result: a low path light creates a short pool, while a higher fixture spreads light farther but may cause glare. Check the beam on site after dark, and adjust the position before adding more lights. One test can save unnecessary fixtures.
Select Color Quality: 2,700–3,000 K and CRI ≥80 for Garden Lighting
For garden paths, seating areas, and planting beds, choose LED lights near 2,700–3,000 K. This warm-white range keeps stone, timber, and foliage from looking stark after sunset. At a sample display, compare the light against a familiar leaf or brick, not just a white wall. Small differences become obvious outdoors.
Aim for a color rendering index (CRI) of at least 80. The CIE’s CIE 13.3 method defines the traditional general color-rendering index, Ra; it helps compare sources, but it does not describe every hue equally well. IES TM-30-20 adds measures for color fidelity and gamut, offering a fuller check when a supplier provides them. Look for test information, not only a CRI claim. A red flower can still look dull under two LEDs both rated CRI 80.
Keep the result consistent. A 2,700 K step light beside a 4,000 K wall light may make the garden feel patchy. Check the fixture’s stated CCT and CRI, then view it at night against your actual paving and plants. Test one area first. I have found that even a technically compliant spec can feel too cool beside warm wood; the setting matters.
Match Lumens and Optics to Paths, Planting Beds, and Feature Areas
For paths, start with modest output and even spacing, not one bright fixture every few metres. A 100–300-lumen fitting can work as an initial trial, but its beam shape and mounting height matter just as much. Choose a shielded, wide distribution to light the walking surface without shining into eyes. Keep it modest. The Illuminating Engineering Society’s RP-33-14, Lighting for Exterior Environments, emphasizes designing for visual comfort and the surrounding environment. Check the actual photometric plan; lumen figures alone cannot predict ground-level brightness.
Planting beds need a different approach. Narrow-beam optics can pick out a trunk or textured foliage, while wider beams reveal low borders more evenly. For a feature tree, test a low-output accent light from two angles before increasing brightness. A little shadow can look more natural. The IES TM-15-20 outdoor luminaire classification system uses backlight, uplight, and glare ratings, which help assess spill and discomfort. For beds, select optics that keep light on the plants, not bedroom windows or the night sky. Record the beam, spacing, and apparent brightness after dusk. One honest limitation: foliage changes with the seasons, so a layout that works in summer may need adjustment later.
| Project Area | Typical Output per Fixture | Optics to Consider | Practical Placement | Color and Visual Effect | Selection Checks |
|---|---|---|---|---|---|
| Path edges and walkways | About 100–200 lumens | Wide, shielded distribution; roughly 60–90° where the product specifies beam angle | Try spacing low-level fixtures about 6–10 ft apart, then adjust for bends, steps, and actual light output. Avoid placing bright sources directly in the line of sight. | 2700–3000 K usually gives a warm, comfortable appearance. | Check that light reaches the walking surface without creating glare or dark gaps. Use more light at changes in level and entrances. |
| Planting beds and low shrubs | About 100–300 lumens | Wide flood or soft asymmetric beam to spread light across foliage | Position fixtures within or just outside the bed and aim across plants rather than toward windows or neighboring properties. | 2700–3000 K can bring out natural-looking greens and warm foliage tones. | Use several modest-output fixtures for even coverage instead of one overly bright point. Keep lenses and light sources concealed where possible. |
| Small trees and specimen plants | About 200–500 lumens; larger or denser trees may need more | Narrow spot for a focused accent or medium flood for a broader canopy; compare beam spread, not lumens alone | Place an uplight outside the trunk’s immediate base and aim toward the canopy. Test the beam at night before fixing the final position. | 2700–3000 K is a common choice for a warm landscape effect. | Choose output according to tree size, surface reflectance, and viewing distance. Avoid aiming light above the canopy or into the sky. |
| Architectural details, statues, and focal features | About 150–500 lumens, depending on size and distance | Narrow spot for a small detail; medium beam for a larger feature | Use a discreet offset angle to reveal texture and shape. Keep the beam on the feature and check views from seating areas. | 2700–3000 K often complements stone, brick, and timber; select a consistent color temperature across nearby fixtures. | Look for adjustable aiming and glare control. A lower output with accurate beam placement can be more effective than a brighter, poorly aimed fixture. |
| Garden walls and fences | About 150–400 lumens per fixture | Wide flood or wall-wash distribution for an even vertical surface | Space fixtures according to wall height, beam width, and the manufacturer’s guidance; check for scallops and uneven bright spots after dark. | 2700–3000 K creates a warm effect; use a consistent color temperature along the same wall. | Confirm that the optic is designed for the mounting distance and surface. Shield the fixture to limit spill beyond the property. |
| Steps and changes in level | About 10–50 lumens for integrated step lights; output varies by fixture design | Shielded downward or asymmetric optic that illuminates treads without shining into eyes | Install consistently at steps and landings, following the fixture’s mounting instructions and local electrical requirements. | 2700–3000 K generally blends comfortably with other residential garden lighting. | Prioritize clear visibility, even coverage, and low glare. Do not rely on decorative accent lights as the only lighting for stairs. |
| Planning note: Lumen ranges are starting points, not guaranteed design levels. Actual results depend on fixture efficiency, beam shape, mounting height, surface color, and spacing. Check the product’s photometric data, outdoor-use rating, installation instructions, and applicable local electrical requirements before purchase and installation. | |||||
Check Weather Protection: IP65 Resists Dust and Water Jets (IEC 60529)
For a 2026 garden-light project, treat IP65 as a practical minimum where fixtures face rain, dust, or sprinkler spray. Under IEC 60529, the first digit, 6, means dust-tight; the second, 5, means protection against water jets under specified test conditions. Check the exact rating on the fixture, not just its packaging.
Not immersion protection. IP65 does not certify a light for ponds, flooding, or prolonged standing water. At installation, inspect the cable gland, gasket, and lens joint; a pinched seal can undermine an otherwise suitable enclosure. Aim sprinklers away from fittings where possible, and remember that salt air can corrode materials without changing the IP rating. Details still matter.
The U.S. Department of Energy’s Energy Saver guidance reports that LEDs use at least 75% less energy and can last up to 25 times longer than incandescent lighting. Those figures compare lighting technologies; they do not predict outdoor service life. For a fair project choice, pair the IP rating with the maker’s maintenance guidance and the site’s real exposure—especially wind-driven rain and repeated spray. A small oversight, like a loose cable entry, can matter more than the number on the box.
Compare Efficacy and Lifetime Using lm/W, LM-80, and TM-21 Data
For a 2026 garden-light project, compare complete-fixture efficacy, not just the LED chip’s rating. Efficacy is delivered lumens divided by input watts: a 40-watt fixture producing 3,600 lumens delivers 90 lm/W. DOE’s LED lifetime technical guidance recommends at least 6,000 hours of LM-80 testing, with 10,000 hours preferred. LM-80 measures lumen maintenance of LED packages or modules; it does not predict the finished fixture’s lifetime.
TM-21 uses LM-80 results to estimate lumen maintenance over time. Its projections are generally limited to six times the measured test duration, so a projection is not a guarantee of service life. Check the reported test temperature and drive current against your installation. A fixture mounted beside a warm stone wall may run hotter than one in open air. I still treat a polished lifetime figure cautiously: seals, drivers, and moisture can fail before the LEDs do.
Tips: Compare fixture-level lm/W at the same color temperature and output. Ask for the LM-80 report and TM-21 calculation, including test hours and temperature. The U.S. Department of Energy’s lifetime guidance highlights these testing and reporting details. For exposed paths, also inspect the driver’s temperature rating and the fixture’s ingress protection rating; good LED data alone cannot describe the whole product.
Related Posts
-
10 Best Smart Garden Lights for Outdoor Use?
-
The Ultimate Showdown of the Best Outdoor Led Light Options for Every Need
-
Maximizing Value with Best Smart Solar Lights: The Benefits of After-Sales Service and Repair Savings
-
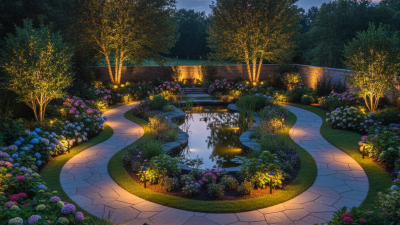
Top 10 Low Voltage Garden Lights for Stunning Outdoor Spaces?
-
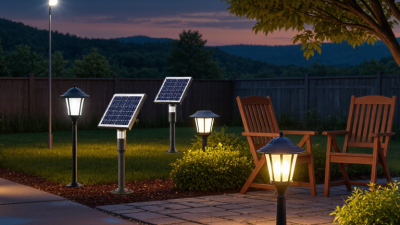
How to Choose Outdoor Solar Lamps in 2026?
-
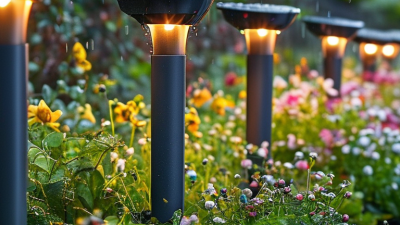
10 Tips for Buying Solar Lights For Garden